The cancellation process depends on how you’re subscribed. If you’re using Amazon Music Unlimited through your Amazon Prime membership, you’ll need to cancel your entire Prime subscription to stop the Music Unlimited access. But if you have a standalone Amazon Music subscription, the steps are different.
This guide will help you understand when it’s the right time to cancel, how to cancel your Amazon Music plan, and how to move your playlists and library to another platform. rewrite passage simple and short
What Happens When You Cancel Amazon Music
Once you cancel, you lose all the good stuff:
- No more HD or ad-free streaming
- You can only play music on shuffle (no picking songs)
- All downloaded songs and playlists disappear
- Songs in your library turn gray and won’t play
- Purchased songs are gone too
Good news: You can still play any song you want using an Alexa/Echo device (even as an alarm).
Save Your Music Before It’s Gone
Use a free tool like TuneMyMusic to move your playlists to Spotify, YouTube Music, Apple Music, etc.
Quick steps:
- Go to tunemymusic.com
- Choose Amazon Music as source
- Pick your playlists
- Choose where you want to send them (Spotify, etc.)
- Click Start – done!
Some songs might be missing if they’re not on the new service.
How to Actually Cancel
On Android
- Open Amazon Music app → Settings
- Amazon Music Unlimited → Cancel subscription
- Confirm
On iPhone
- Open App Store → tap your profile
- Subscriptions → Amazon Music
- Cancel Subscription → Confirm
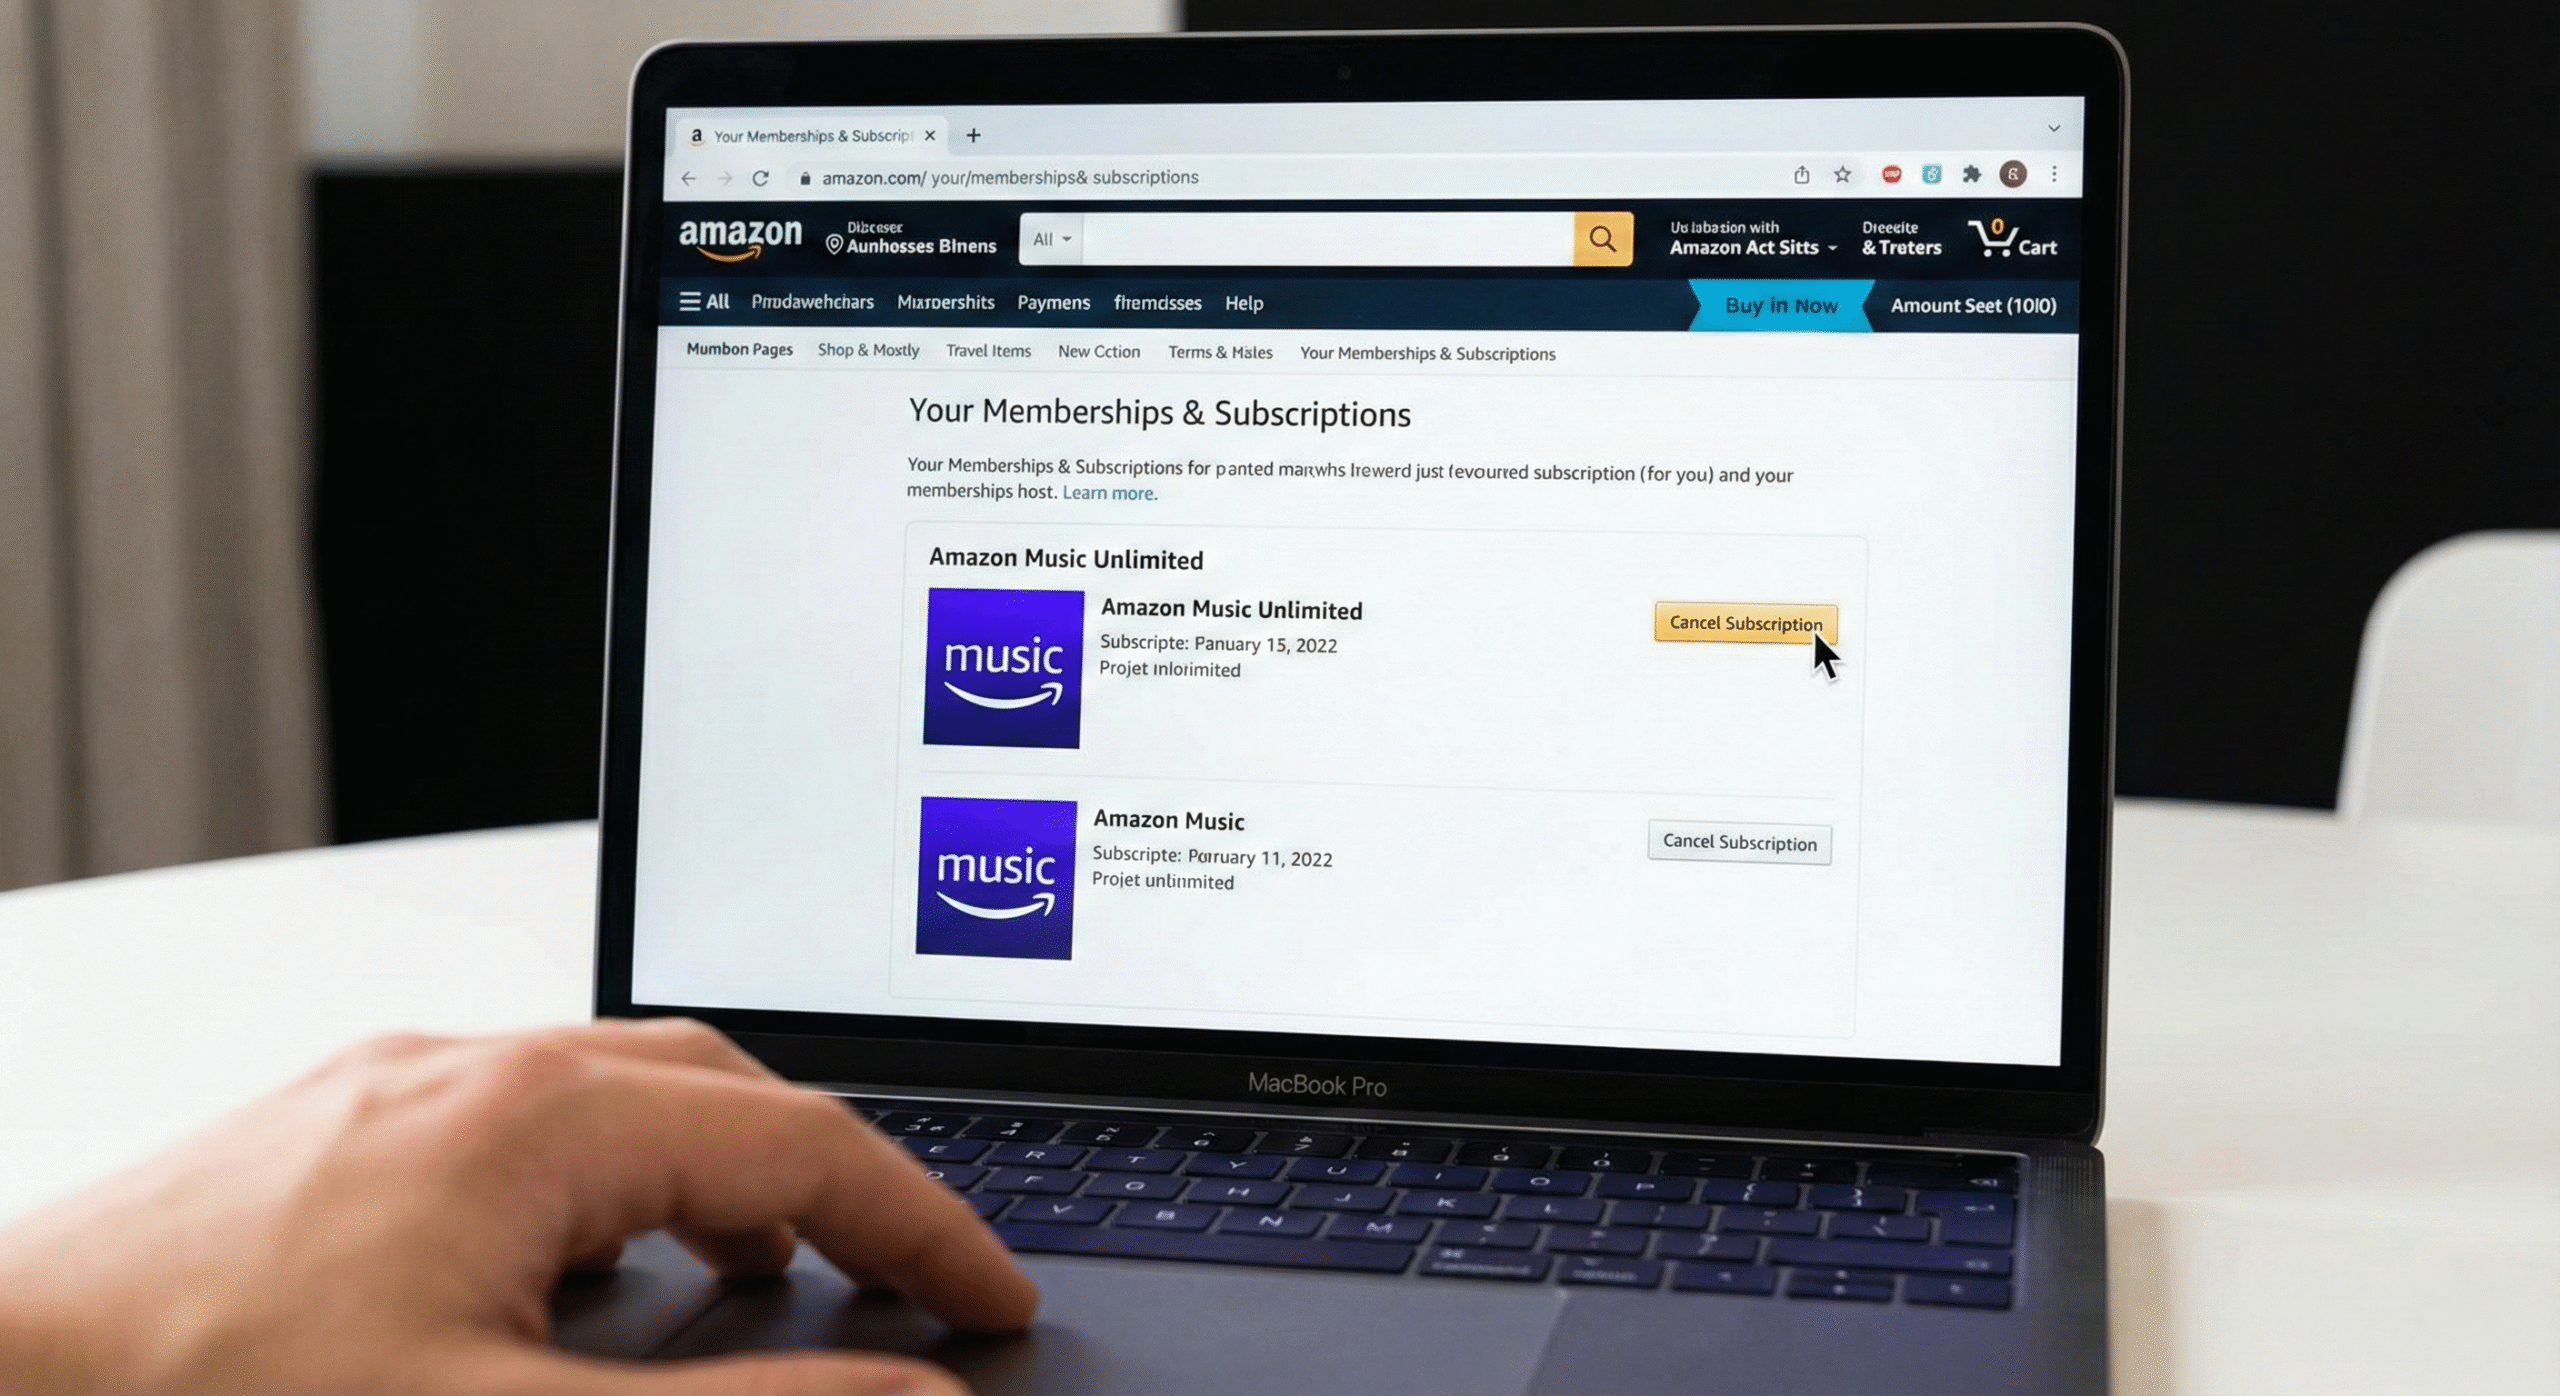
On Computer
- Go to Amazon Music settings (amazon.com/music/settings)
- Amazon Music Unlimited section
- Click Cancel → Confirm
You’ll keep full access until your current billing period ends, then it switches to the limited free version.
That’s it — cancel anytime and save the cash if you’re not using it!